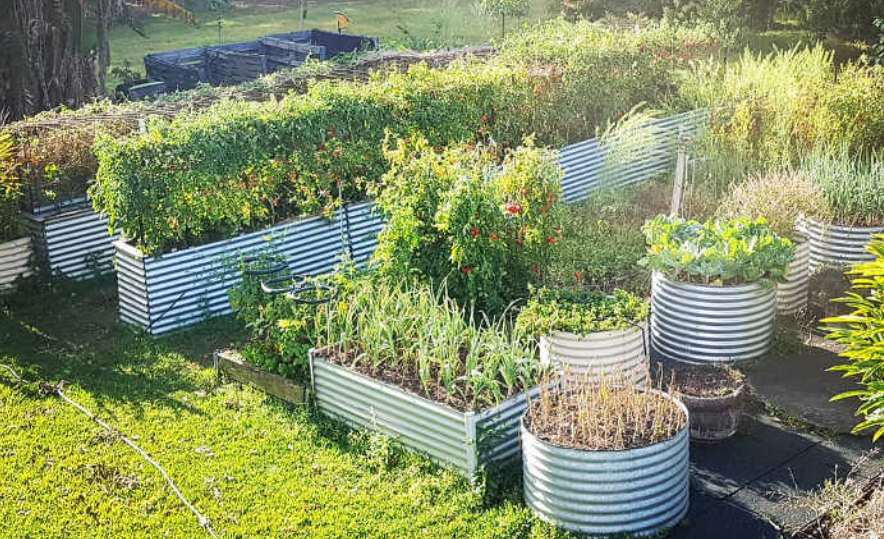
Gardening with raised beds is my preferred method. When you’re doing raised bed gardening, you can control your soil type easily. Your beds warm up faster in the spring. You’ll have less weeds and an easier time clearing out those which do appear. The soil doesn’t become compacted like an in-ground bed. But there’s one drawback: you have to figure out how to fill a tall raised garden bed. And that seems daunting!
Whether you’re using native soil or a soil mix, a blend of soil and compost, or something else, we’ll go over your options. There’s plenty of things you can do to fill your gardens raised beds!
What’s Your Bed For?
Before you begin to plan, you’ll need to decide what your bed’s actually used for. After all, some plants are more shallow-rooted than other plants. As an example, your average red radish is going to require very little depth, where a daikon radish requires a couple feet of soil.
If you have an idea of the root depth you’ll be growing in each container, you can customize your fill materials to that. For instance, someone who’s going to have a devoted leafy greens bed only needs 6-8″ of high-quality soil on the surface. Native soil or other materials can be used beneath that to prove bulk. But someone growing carrots will want at least a foot and a half of quality soil.
Drought-tolerant plants often have deeper root systems. These deeper roots make it possible for the plant to search further down for the water they need.
More Materials For More Depth
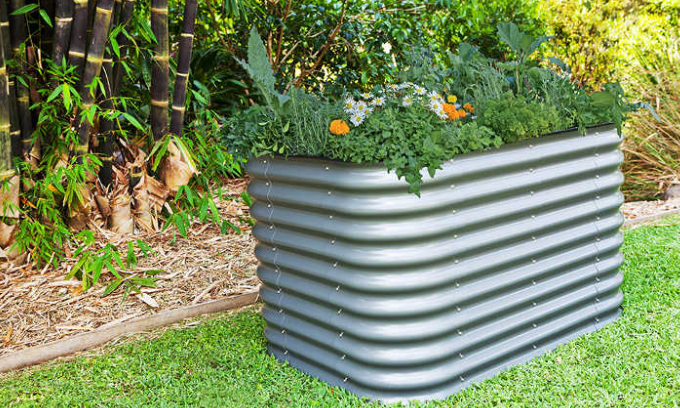
I’m a huge fan of the raised beds that we sell here on the site. These fantastic raised beds are made from cold-rolled 22-gauge galvanized steel with an coating. The coating makes them extremely rust-resistant, and they’ll hold up to whatever weather comes your way.
The taller your garden bed, the more materials you’ll need to fill it. You get about eight square feet of planting space on the surface. But you’ll need 18 cubic feet of soil to fill it completely.So let’s go over the different configurations you can build and determine how much soil each takes to fill.
Filling The Bottom Of Your Garden Beds
Since you’re putting your highest-quality soil on the surface, whatever’s underneath will need to drain off an excess of moisture. Avoid using materials like rocks on the bottom of your raised bed, as this can create an artificial water table that will prevent good drainage. With raised garden beds, drainage is essential.
What constitutes organic materials? A lot of things!
Old, dry wood can make a suitable base layer, as it will decompose underneath the soil. Wood also holds some moisture while allowing excess to easily drain away.
It’ll take a couple years for old branches or small logs to decompose, so keep that in mind. You’ll want to avoid planting your deepest vegetables in wood-filled beds for a while, opting instead for shallow-rooted plants. Using wood in this way is a variation on a technique called hugelkultur.
Other garden waste products can make for a good base layer as well. Grass clippings, dry leaves or leaf mold, trimmings from other plants, and the like can fill in the bottom of your bed. These will break down quickly into the soil, building up the soil’s organic content. However, as they decompose they’ll lose height, and you’ll see obvious signs of your soil level dropping by late in the season. This is still an excellent way to start a brand-new raised bed, as you can continue soil building later.
Do you have a compost pile that’s still not done breaking down? Toss that half-finished compost into the bottom of a bed. It will continue to break down in there. You can mix some local garden soil with it if you’d like, but it’s not required. These lower layers are also great places to bury your topping it off with grass clippings and other garden waste before adding soil.
Raised Bed Garden Custom Blends
Now that your base is filled, and you’re ready to add your growing layer, it’s time to consider what you want to actually plant in. This is the upper layer of your garden bed, raised above whatever fill material you chose. And it’s from this upper layer that your plants will get most of their nutrients and water.
A common raised bed soil mix is known as Mel’s Mix. This blend is made up of equal parts of blended compost, peat moss, and coarse vermiculite. This mix is wonderful for most raised beds, but only if the bed is on a surface which drains well. If you’re building your raised bed on concrete or hard packed clay, you may want to opt for a better-draining blend. Adding perlite to this mix can help improve drainage. If you’d rather use something sustainable, rice hulls are great as a perlite replacement.
When I started my beds, I went with a personal customized mix. My upper layers were a blend of composted dairy and chicken manure, leaf and plant compost, vermicompost, sandy loam, aged forest humus, peat moss, wheat straw, and screened local topsoil. This worked wonderfully.
Every fall, I collect as many fallen leaves as I can find, shred them with my lawnmower, and make a deep leaf mulch in any beds that aren’t active. The worms in my soil break down a lot of the leaves over the winter, and it creates a lovely, humusy soil surface that my plants love! Leaf molds like this are one of the best organic additions you can do for your raised garden beds.
Consider topping off your raised bed in the fall with a lasagna-layer method. Make sure you layer green fresh materials between brown dried materials. For instance, alfalfa hay, vegetable scraps, or grass clippings are green, whereas dry straw, fine wood chip, or dry leaves are brown. Do a layer of brown, then a layer of green, and if you’d like add a layer of manure to top it off. Repeat this layering until you’ve reached the top of the bed. You may even want to mound it slightly above the bed’s surface. By the spring, you’ll have a lovely surface to plant in, and it will help refill your beds.
I use a variation of the lasagna method using specifically-chosen ingredients. I select high-nitrogen materials like certified weed-seed free alfalfa hay and chicken manure, and layer those between dried leaves and pine shavings. Once I have 6″ to 8″ of layered materials built up, I top it with about 3″ of composted manure, then “put it to bed” by covering the bed’s surface with something to prevent weed seeds from entering. Landscape fabric is quite effective for this purpose.
When spring comes, I remove the landscape fabric cover. There will still be an inch or two of material that didn’t completely decompose, often matted beneath the manure surface. I use the tip of a trowel to punch planting holes into this matted layer and plant down into the hole. Don’t disturb the matted layer otherwise, as it works extremely well to keep the soil moist. By doing this every fall, you’ll greatly improve the yield for your plants in the spring.
Don’t want to try composting in your raised garden beds? That’s okay. You can simply add additional soil and compost as needed the following year. I do like to add coconut coir or peat moss for extra moisture retention. If I need more drainage, I’ll add perlite or rice hulls.
Using a wood chip mulch during your growing season will act like a form of composting. Over time, fine wood chip mulches will break down, adding more bulk to your soil. They also work their way down into the soil, providing added drainage capability.
Hopefully I’ve given you some inspiration for ways to fill your bigger raised beds. I know it can be a challenge, but those larger beds are worth the effort!
Post time: Jul-29-2022


